
Getting Started: The Basics
Getting started: Things to know
Welcome to SqueejCraft! In this guide we will assume this is your very first time playing on a semi-vanilla SMP server, but we will discuss all of the basics that both beginners and pros should understand about this specific server, as each SMP is unique in it's own way.
This is a hard difficulty semi-vanilla SMP server, where PvE is the default and can be enabled or disabled with the /pvp command. Both players must have PvP enabled in order to battle
Have friends on the server? Send them a teleport request by typing: /tpa (their name)
You can also request that they teleport to you by typing: /tpahere (their name)
Did someone send you a teleport request? Accept it by typing: /tpaccept
Getting started: Logging on
Lets get right to it! But first we need to log on to the server using the IP squeejcraft.com
If you're unsure of how to connect, you can visit our Beginners Guide for a detailed step-by-step explanation of how to do so. We also suggest visiting the beginners guide if you're unsure of how to use commands, or just in general very new to the game.
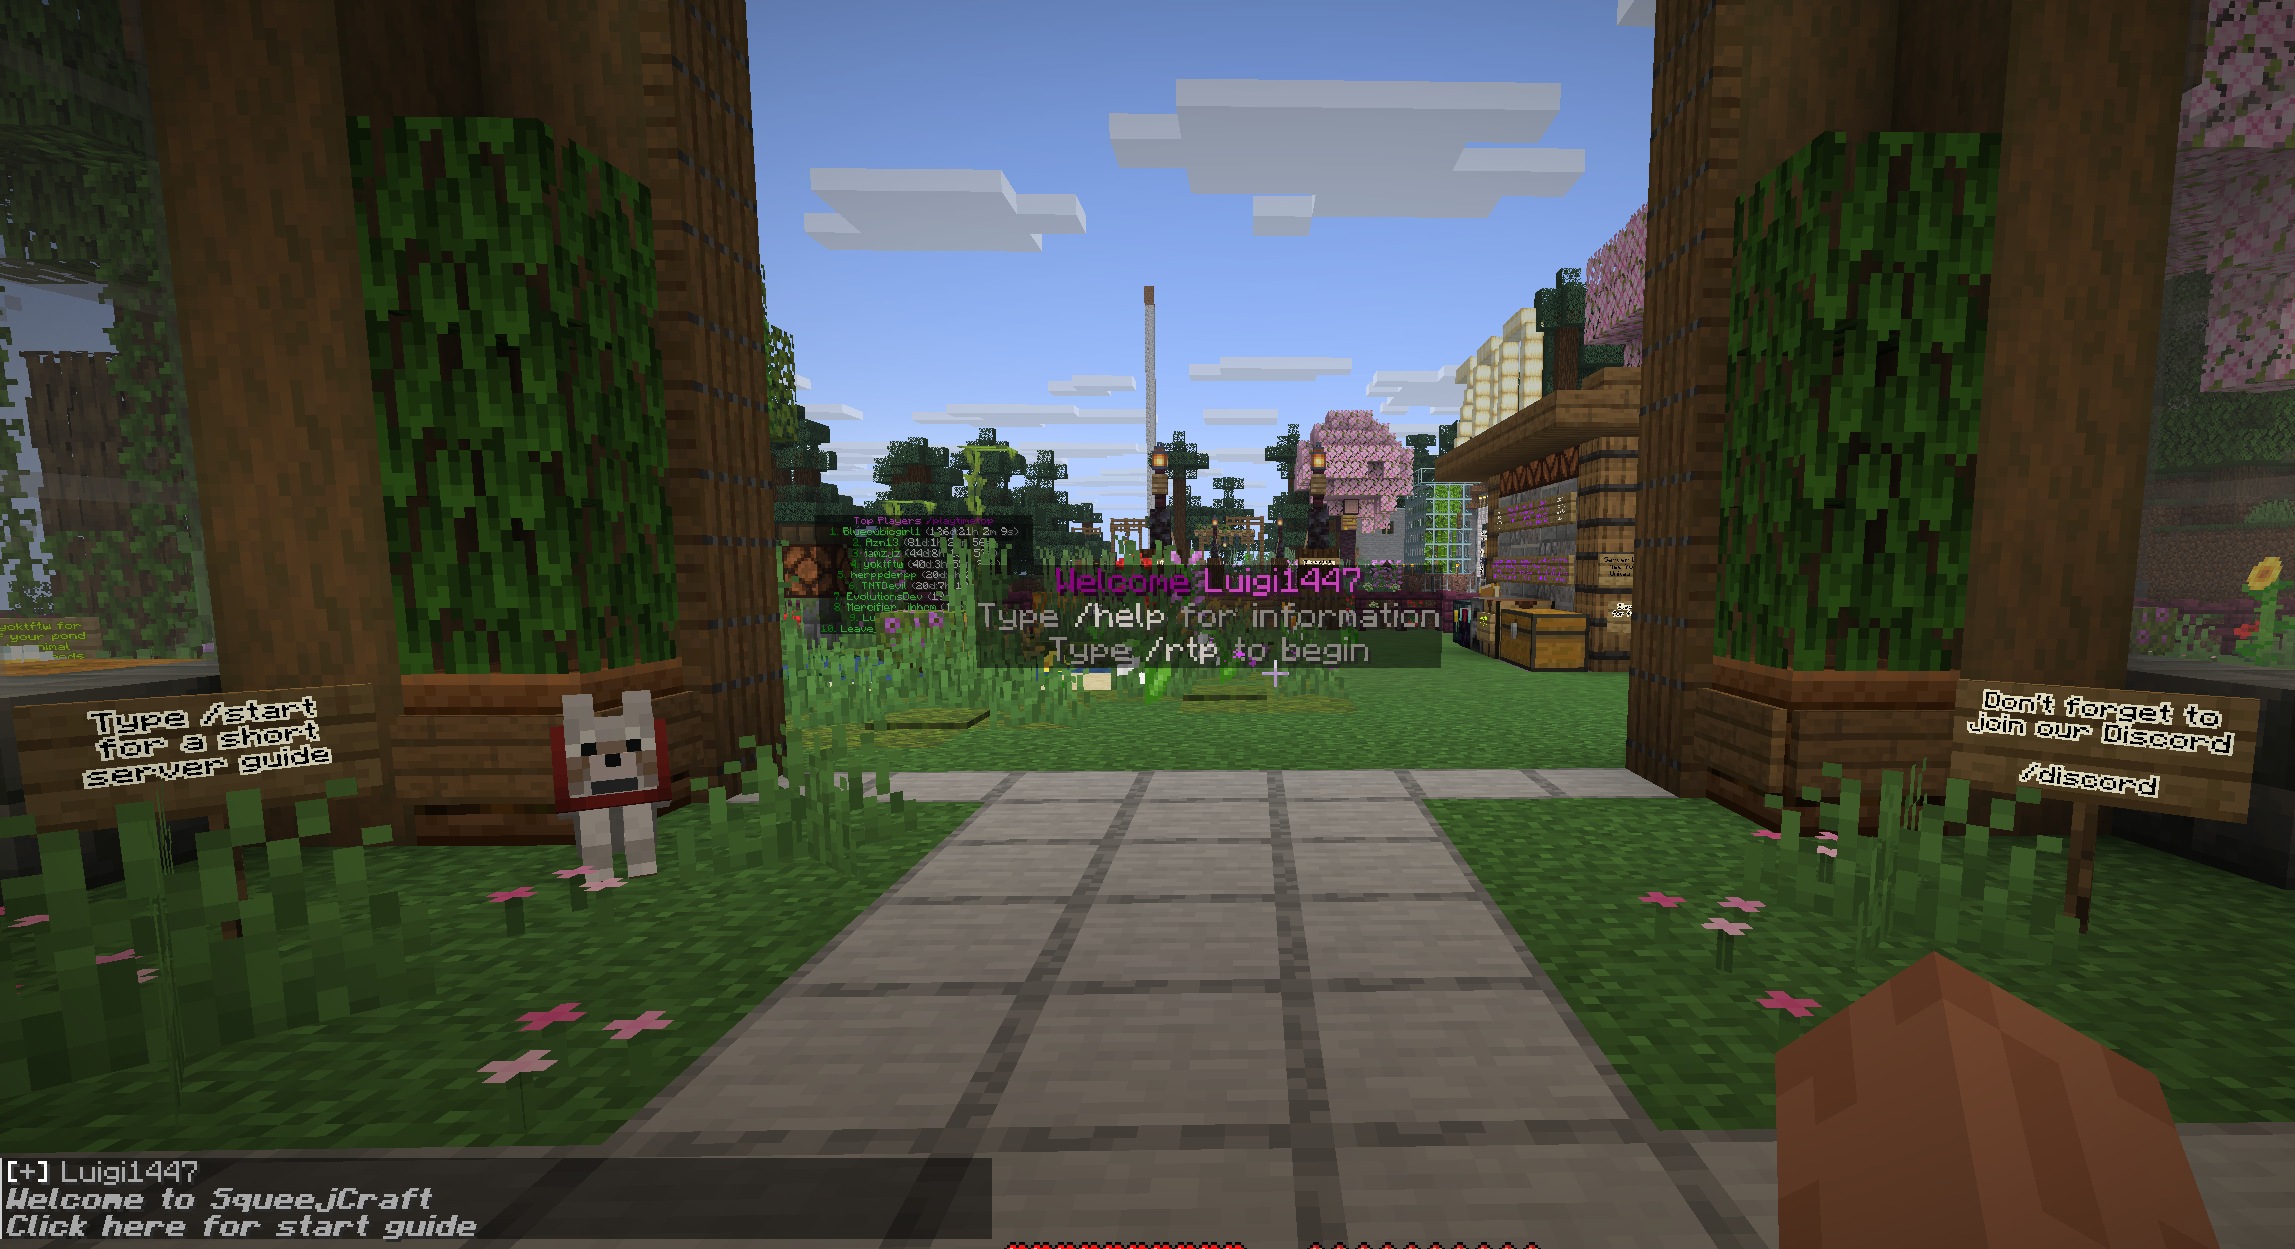
Your first time logging in should look something similar to the picture below. The sign on the left suggests we run the /start command for a short guide, however we will be covering most of that here. Still, we suggest you take a look at the guide anyway, and especially the /help gui, which goes over all available server commands and their abilities in a compact, easy to understand menu. After reading /start, and breezing through /help, it is also strongly recommended that you visit the /rules GUI to learn about all of the rules to make sure you don't accidentally break any.
Alternatively, you can visit the Getting Started guide by simply clicking the message on the bottom left of the screen, as shown below. Once opened, you can then click the icon on the far right to view the Help gui. Also, you can just read the rules by clicking the hologram ahead.
Let's get moving
Have you visited the /start guide and thought to yourself "too much, didn't read", but you still want to understand the basics and get to playing? Well you're in luck. Simply walk over to the information board ahead for a quick rundown of the basics and how to start. You may even find something useful in the community chest... maybe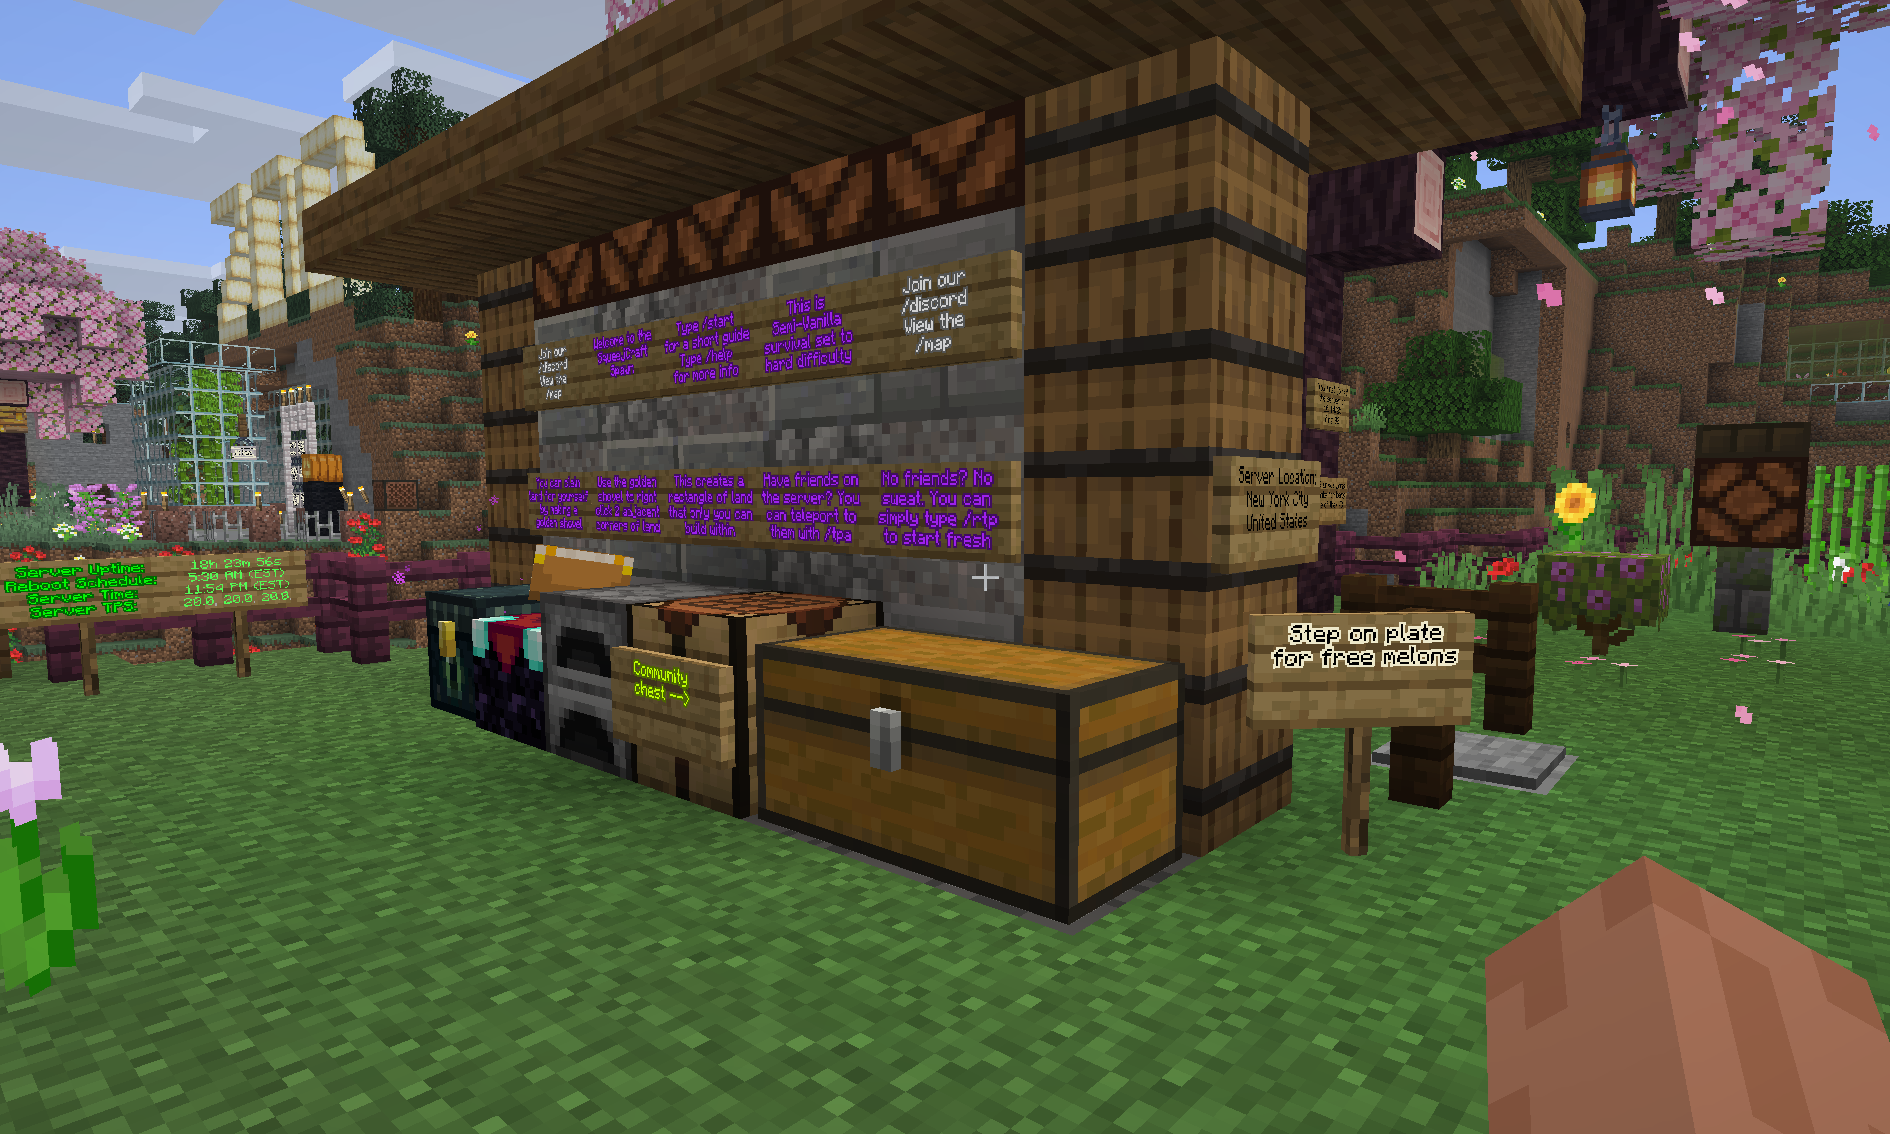
Alright, so we spent enough time reading and learning about the basics. It's time to play, but you need to know something before you go... This is Hard difficulty Minecraft with pure vanilla spawn mechanics. That means, monsters on this server are about as aggressive as they would be in single player. So, you're going to want to be prepared. I'm not trying to sell you on the idea of a challenge here, most newcomers die within their first night. You can visit our Beginners Guide for more information and a link to a tutorial video.
See that sign over there that says "free melons", go ahead and step on the pressure plate behind it to activate the melon pistons. You can pick up these melons and use them as food for your journey. It's dangerous to go alone, take them.
Leaving Spawn
There are two different ways we can get out of this place. The simplest way is to simply walk away from spawn. Those melons should hopefully hold you over until you exit the area. The quickest way though, is to Randomly Teleport using the /rtp command. However, this will cost you 1 bux (more about bux later). You start with 5 bux when you first join, so you can only randomly teleport up to 5 times at the start.
Let's assume you're the frugal type and chose to walk. Once far enough, you will eventually leave the server's land claim that protects the Spawn area (more about land claims later). If you ever want to come back to Spawn in the future, you can do so with the /spawn command.
Now that we found an unclaimed area, we can begin building, digging and exploring.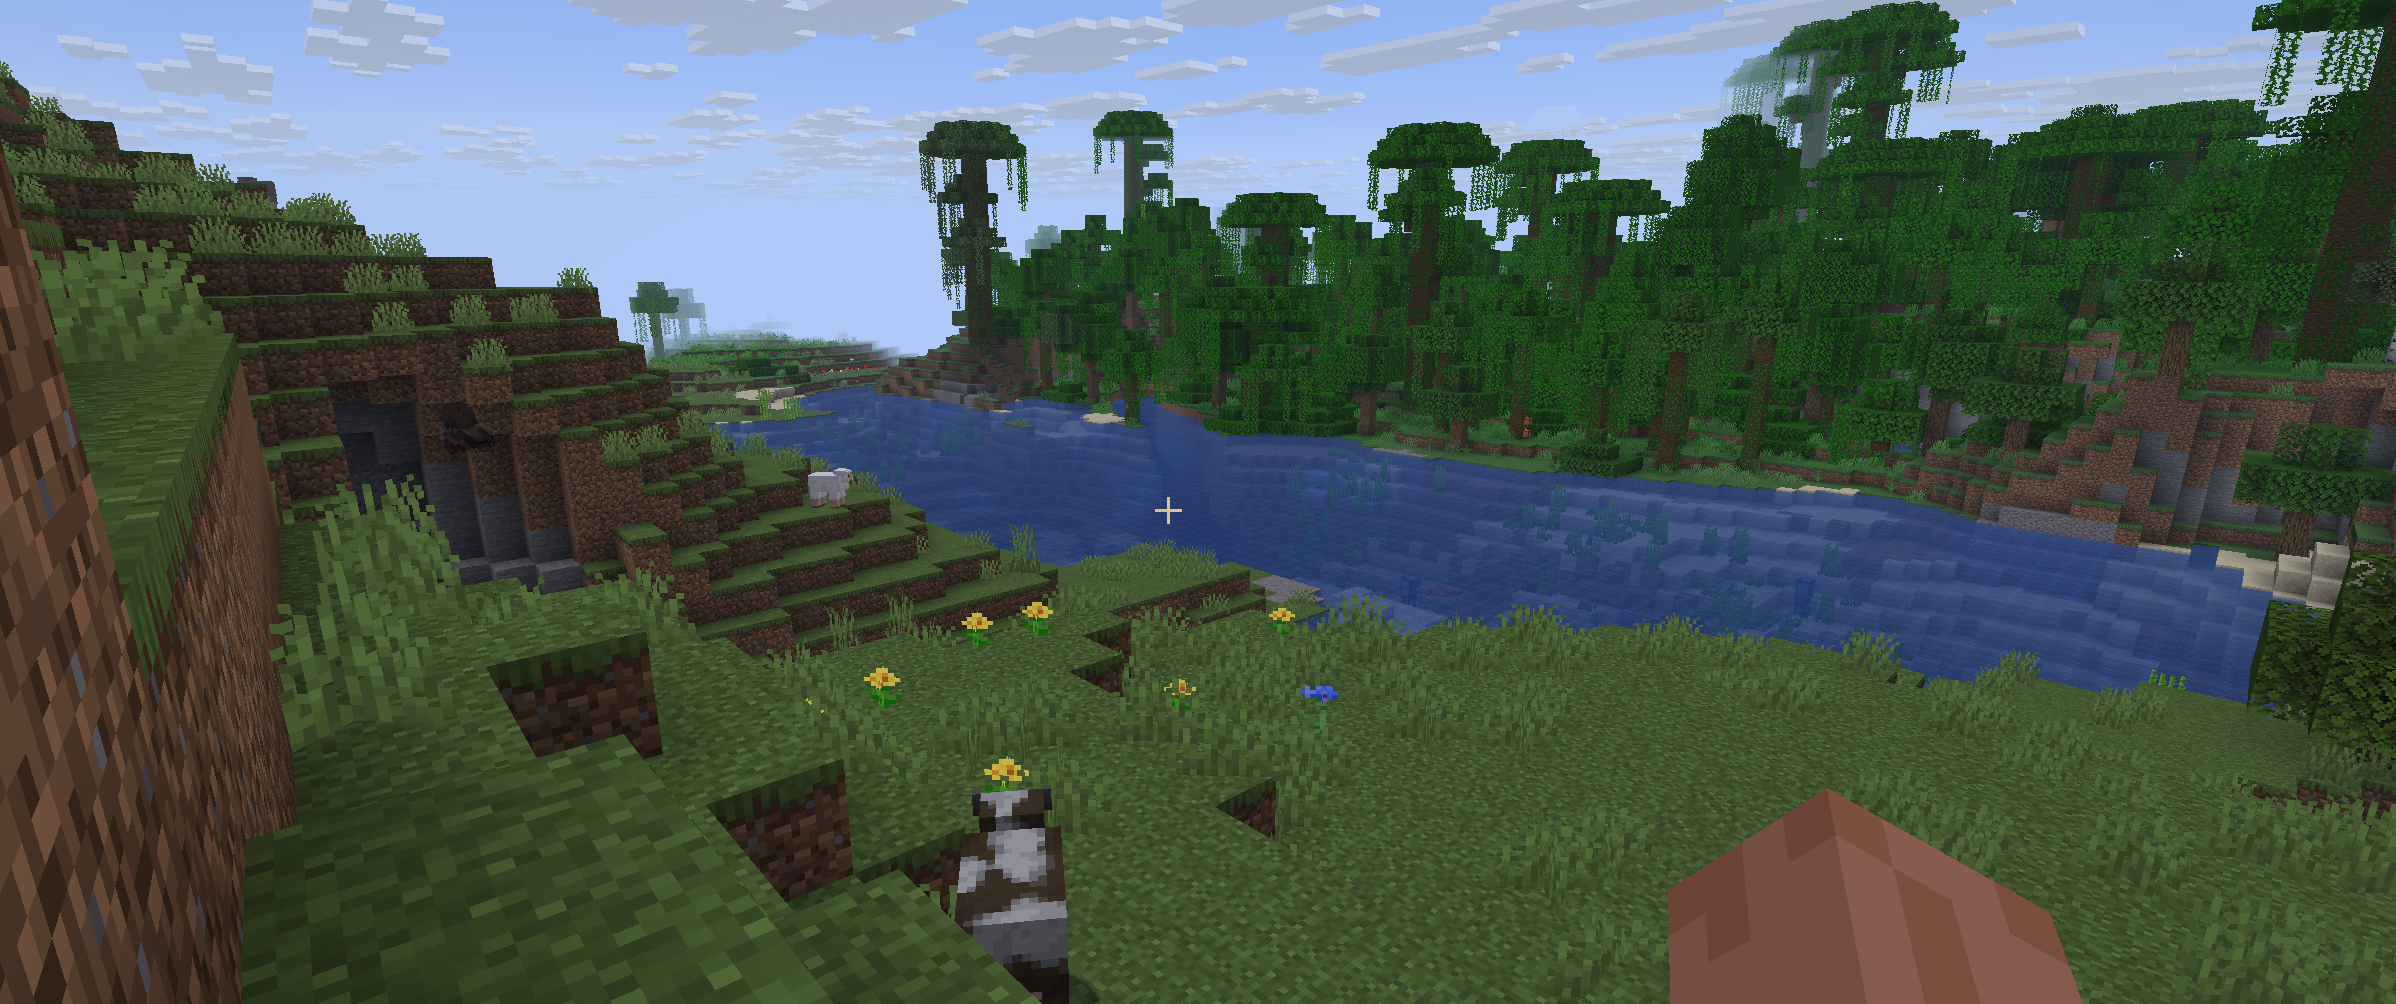
Teleport Laws
To prevent abuse, most teleport commands come with a 5 second warmup time. If you are attacked during this warmup phase, the teleport will cancel and you will need to try again. You must address immediate dangers first before attempting to teleport. Once teleported, you will be protected from damage for 3 seconds.
Land Claims: Finding a Golden Shovel
Now that we found a nice area to build our base, it would be nice if we could protect it. This is a public server after all. Shouldn't we be worried about other players destroying our builds or stealing from our chests? Not with land claims we don't. When you create a land claim around your base, it completely protects it from anything the server throws at it. Griefers, Creepers, even the Warden himself wouldn't be able to trample your crops. Unless of course, you want him to... You can create specific rules within each land claim and each subdivision, for both players and specific mob types/land claim functions. To learn more about advanced land claim usage, click here.
On SqueejCraft, land claims never expire. But this comes with risk, if too many new players create land claims with no expiration dates, then this could result in most of our land being take up by unused claims. To solve this, we require that all players find the materials necessary to make a Claim Tool themselves. On this server, our claim tool of choice is the Golden Shovel. We figure that if you're dedicated enough to find the Gold to make one, then you're likely to stay and make use of your eternal land claim.
Want to just use your Golden Shovel as a regular shovel? Simply run the /claimtool command while holding the shovel to toggle the shovel's Land Claim function. To turn it back on, simply run the command a second time.
Land Claims: how to make one
Alright lets create our first Land Claim. We're going to want to equip our newly made Golden Shovel in our main hand, and then right click the two adjacent corners of the area we want to claim. And that's it! The area within the highlighted square we just created is our land claim. We can resize it by right clicking any of the corners, specifically the Shroom Lights. Don't worry about those though, the Shroom Light/Yellow Wool outline you see below is just a visual representation of your land claim, they will either disappear on their own or when you put your shovel away.
We suggest wrapping all of the builds and projects you care about in a Land Claim.
For more information, you can visit our Land Claim Guide: https://squeejcraft.com/claims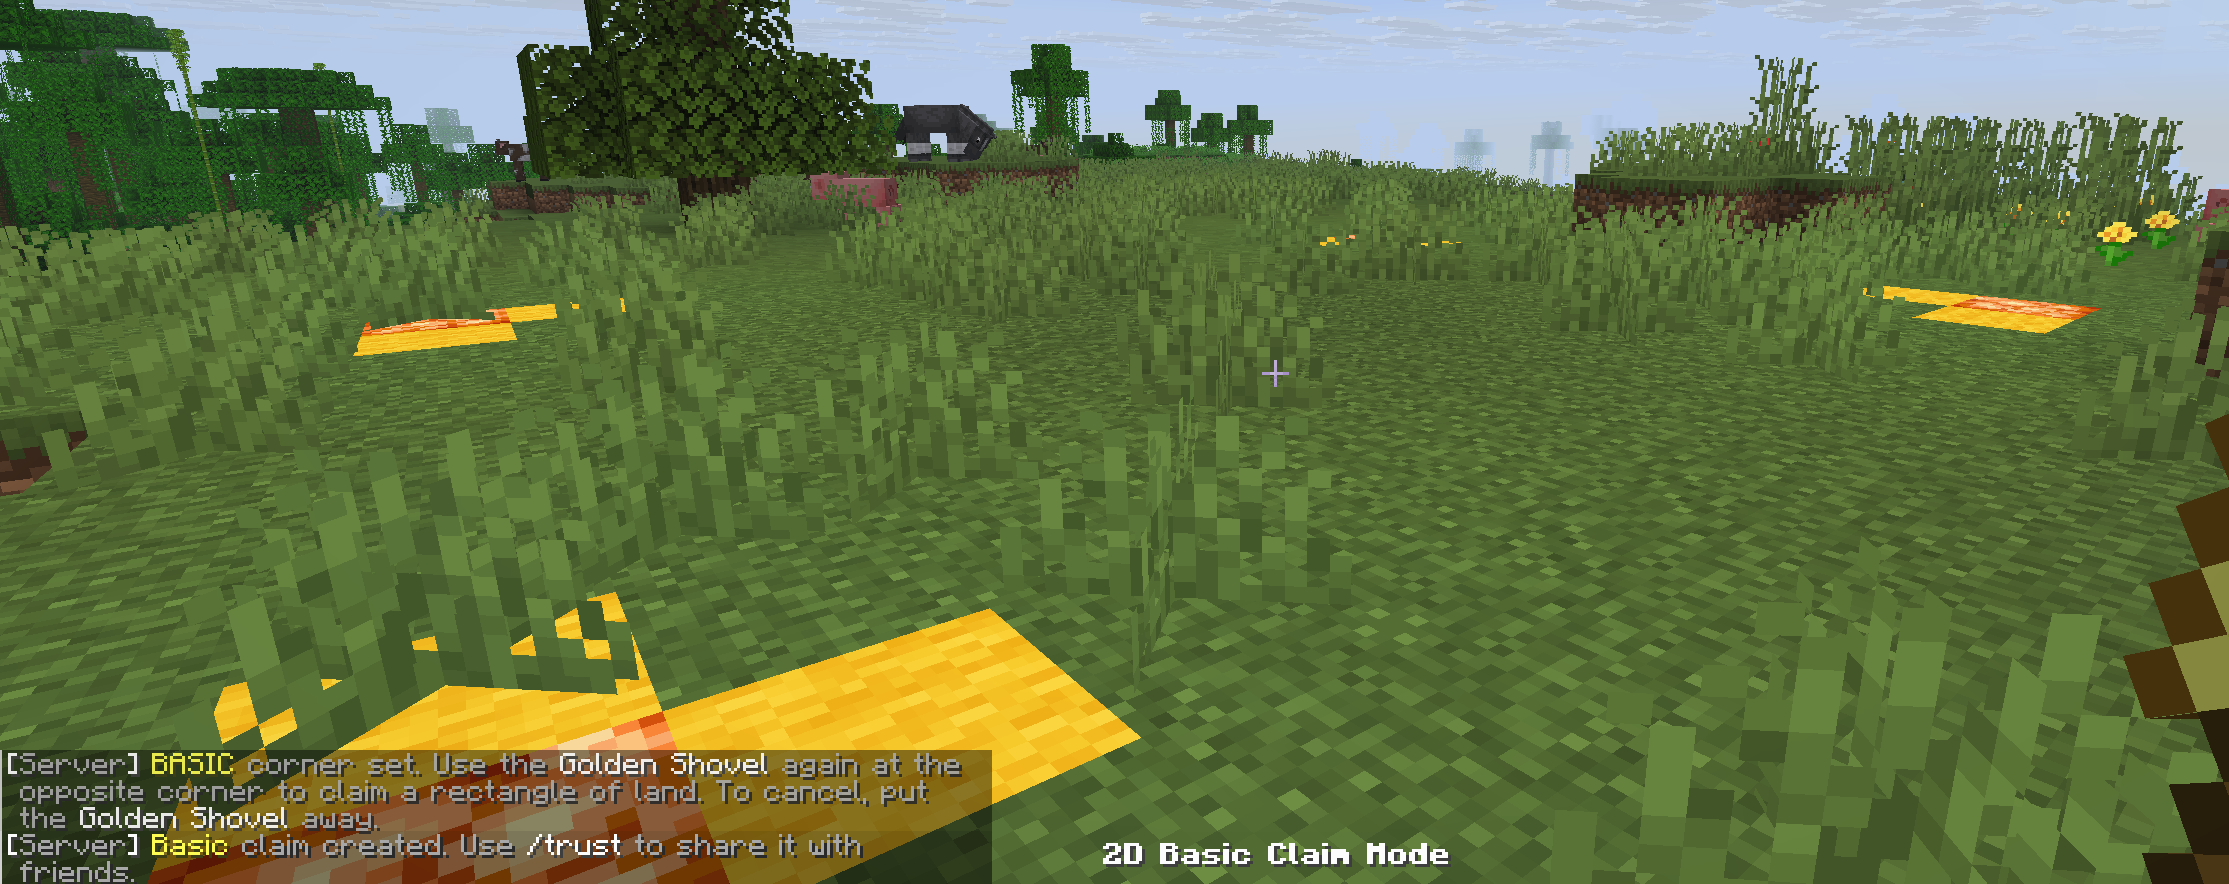
Setting a Home Point
Commands:
/sethome (name)
/home (name)
/removehome
Now that we claimed our land and built our base, let's set a home point so we can teleport back to it later. But first, you'll want to think of a name. Let's assume that you chose the name SqueejBase (excellent choice). So to set a home point for SqueejBase, we'll want to run the command /sethome squeejbase
Once SqueejBase is set, we can teleport to it anytime with the command /home squeejbase (doesn't have to be case sensitive)
By default, you can create a maximum of 3 home points. However, over time you'll be able to create a maximum of 48 home points. This does not require you to donate or vote, you simply need to keep playing to unlock your home points. The same goes for Chest Shops. However, with a VIP package your home points will continue to keep unlocking, until you reach a maximum of up to 64 homes.
Don't like your home? You can remove it with the command /removehome squeejbase. Alternatively, you can overwrite your home point and set it in a new location, by running /home squeejbase somewhere else.
The Home GUI: /home
Instead of using commands to manage & teleport to your homes, you can do so with the home GUI. To open it, simply run the command /home
This GUI will list all of your available homes, and it will also show how many homes you can create until you reach your current max. Pressing Q while hovering over a home Icon will allow you to change the Icon, the slot number and the option to set it as a favorite. Additionally, the Home GUI provides us with the ability to teleport to our Last Teleport location. This is known as the /back command.
The Back command: /back
The /back command is a handy tool for making server navigation much easier. However, because it is so powerful, there is a one minute cooldown for each use. Typing /back will teleport you to your last known teleport location. So if you were out in the wilderness and ran the command /home squeejbase, but you decide you want to go back to keep exploring, you can do so with the /back command.
The Escape Rope command: /top
For 12 bux you can teleport to the highest point of your location with only a 2 second warmup time. This still requires that you do not get attacked during the warmup and there is a 10 minute cooldown, you will not be charged until the teleport is complete.
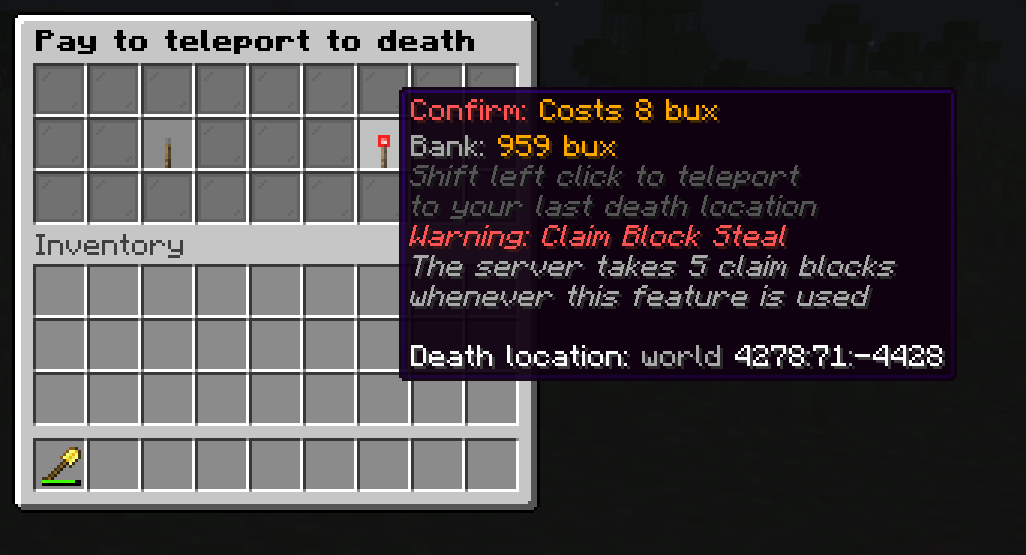
The Death Back Command: /dback![]()
Oh no. We died. But that's okay, because on this server there are several tools to help navigate to our death location. There is no keep-inventory on this server and we will need to visit our corpse within 5 minutes if we want all of our stuff back. Fortunately for us, every time we die the server will print our coordinates in the chat, as shown above.
Don't feel like walking? Well for the small price of 8 bux we'll teleport you there with the /dback command. However, the server doesn't seem to like this. Every time you successfully teleport to your death, the server will also take 5 claim blocks to discourage you from ever using this feature again. Yet it will always be there for you, for those very desperate situations. If you miss your death coordinates in the chat, the /dback command will display them for you. Don't worry, we're not going to charge you or take your claim blocks unless you shift+click the Redstone Torch icon to accept the teleport.
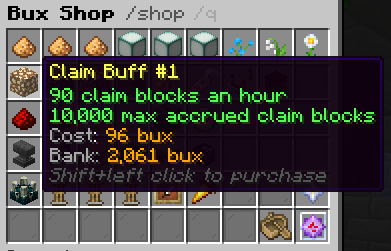
Rewards: Collecting and spending bux
On SqueejCraft there is a currency known as bux that can be spent on server goodies in the /shop, or they can be spent on random teleports & death teleports. You cannot use bux in chest shops and you cannot use them to purchase vanilla items from the server. They can only be spent on server features, such as cosmetics, land claim buffs, useful commands, armor stand upgrades and much more. Type /shop in game to see what's available
By default, all players earn up to 1 bux for every hour of gameplay and 64 bux every 3 days of gameplay. However you can speed up the bux collection process by voting for the server with the /vote command. With enough votes, you can unlock up to 5 bux every 3 hours, on top of your 1 bux per hour rate. You cannot purchase or trade bux with real money; voting is the best way to earn bux. See our Server Support guide for more information

Chest Shops and the Server Market
You can apply for a plot at the server market and create chest shops for other players to interact with, where they can buy and sell goods from you. However, there's simply too much to cover to fit within this guide, so we made a separate one. To learn more about chest shops and the server market, you can visit our chest shop guide here: https://squeejcraft.com/shops